Smart home technology has finally matured enough to actually save you money, and the Nest learning thermostat is a prime example. Unlike traditional programmable thermostats that sit passively on your wall, the Google Nest learning thermostat 4th generation actively adapts to your schedule, weather patterns, and comfort preferences, all while cutting your heating and cooling costs. Whether you’re upgrading from an old dial thermostat or looking to maximize your home’s energy efficiency, understanding how the Nest thermostat learning capabilities work will help you decide if this investment makes sense for your household. This guide breaks down what sets it apart, how to install it, and whether the savings justify the upfront cost.
Table of Contents
ToggleKey Takeaways
- The Nest learning thermostat 4th generation uses machine learning to adapt to your schedule and preferences automatically, saving 10–15% on heating bills and 10–23% on cooling bills.
- Motion sensing and geofencing technology detect when you’re away and switch to energy-saving mode, potentially reducing HVAC costs by 10–15% without manual intervention.
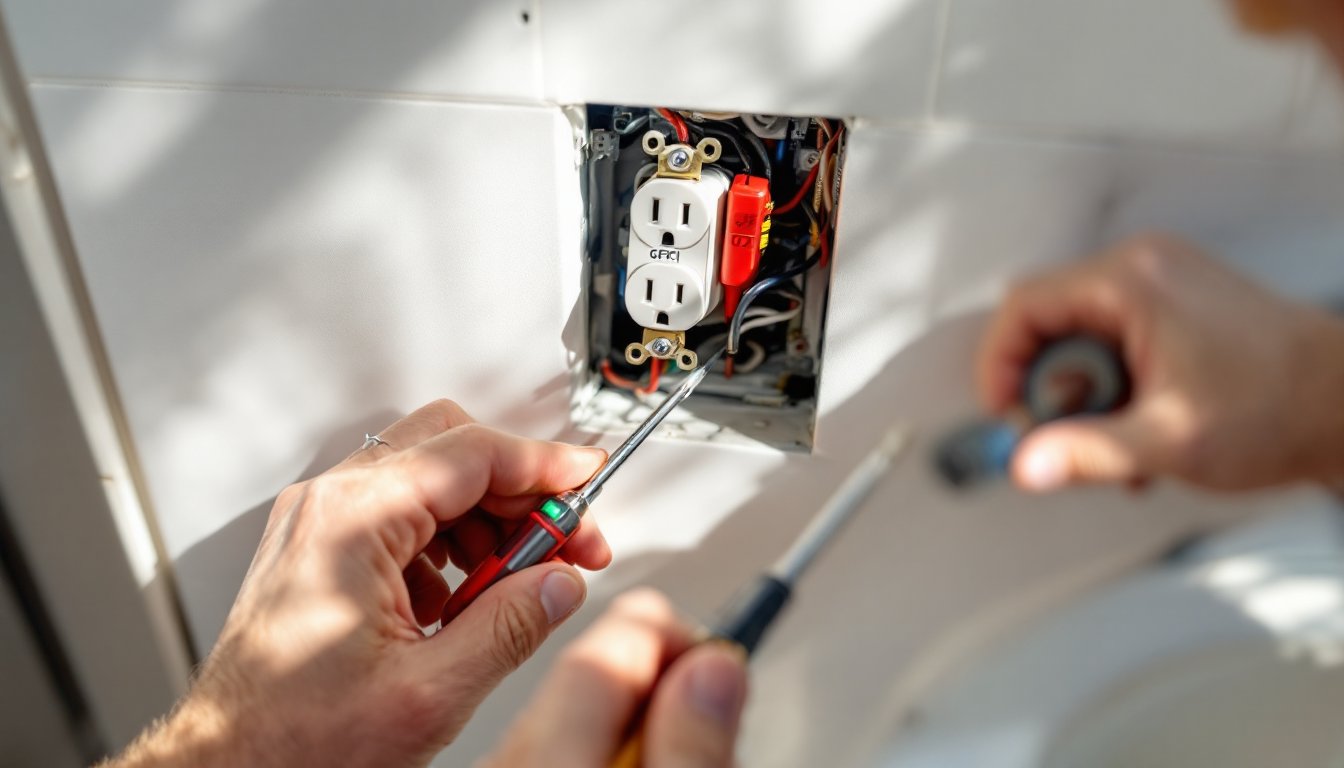
- Installation requires a C-wire (common wire) or compatible power adapter; hiring an electrician for C-wire installation typically costs $150–$300 but ensures proper functionality.
- The Nest thermostat learning system pays for itself in 1–3 years through energy savings, making it a cost-effective upgrade from older or basic programmable thermostats.
- Smart features like remote app control, weather-aware scheduling, and voice integration with Google Assistant let you manage temperature from anywhere while monitoring real-time energy usage.
What Makes The Nest Learning Thermostat Different
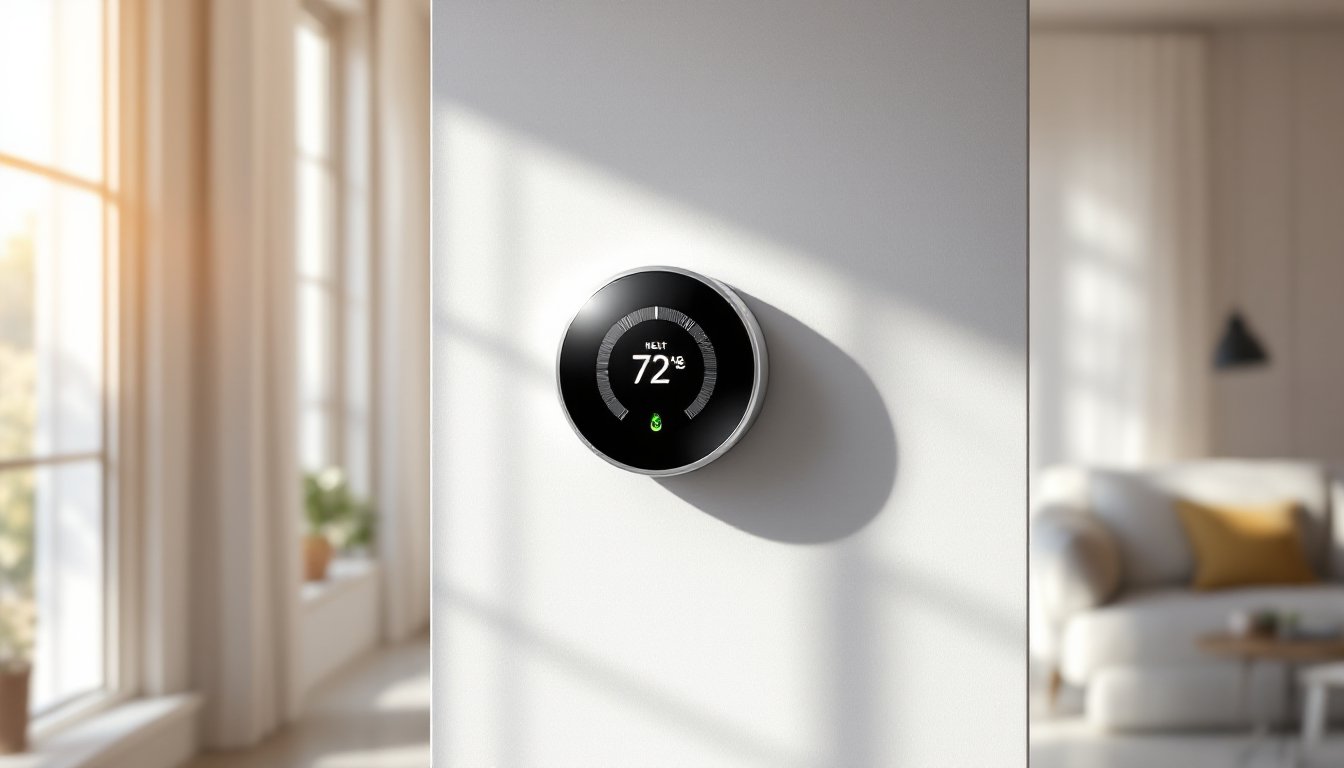
The Nest learning thermostat 4th generation isn’t just another programmable thermostat with a touchscreen. It’s built around machine learning, the system studies your temperature adjustments, occupancy patterns, and local weather, then automatically creates a heating and cooling schedule that works for your lifestyle. Within a week or two, it starts anticipating your needs without you programming a single time.
How Nest Learns Your Preferences
When you first install the Nest thermostat learning system, you’ll manually adjust the temperature several times as you live your normal routine. The thermostat records every adjustment and pairs it with the time of day, day of the week, and outside temperature. After roughly a week, it builds a profile of your comfort preferences and begins suggesting, or automatically applying, schedule changes.
The Google Nest thermostat 4th generation includes a motion-sensing feature that detects whether you’re home and adjusts accordingly. If nobody’s moving around (or it detects you’ve left via your phone), it switches to an energy-saving mode. This feature alone can trim 10-15% off your heating and cooling bills because you’re not conditioning an empty house. Unlike older thermostats, there’s no guesswork or manual overrides needed for every schedule change, the device handles it intelligently.
Installation And Setup For Homeowners
Before you start, check your current wiring. The Nest learning thermostat 4th generation works with most standard HVAC systems, but it requires a C-wire (common wire) or a compatible power adapter. If your old thermostat only has four wires, you’ll need an electrician to run a fifth wire from your furnace or air handler to the thermostat location, or use the Nest Power Connector adapter.
Materials and tools you’ll need:
- Nest learning thermostat 4th generation unit and backing plate
- Screwdrivers (Phillips and flathead)
- Wire strippers (for identifying or extending wires)
- Level (to hang the unit straight)
- Optional: Nest Power Connector adapter (if no C-wire available)
- Optional: Electrician (if adding a C-wire)
Installation steps:
- Turn off power at your breaker or furnace disconnect. Safety first, don’t skip this step.
- Remove the old thermostat and photograph the wiring before disconnecting anything. Label each wire with tape so you remember what goes where.
- Mount the Nest backing plate to the wall using the included hardware. Use a level to ensure it’s straight. Fill any gaps left by the old thermostat’s footprint with drywall compound if needed.
- Connect the wires to the corresponding terminals on the Nest backing plate. The Nest app will help identify which wire goes where if you’re unsure.
- Snap the Nest unit onto the backing plate and power everything back on.
- Run the setup wizard in the app to connect to your Wi-Fi and configure your HVAC system type.
If you’re uncomfortable working with electrical wiring, hire a licensed HVAC technician. A C-wire installation typically costs $150–$300, which is still less expensive than replacing a thermostat that doesn’t work properly. The whole process takes 30–60 minutes for straightforward replacements.
Energy Savings And Cost Benefits
Google claims the Nest learning thermostat delivers an average of 10–15% savings on heating bills and 10–23% on cooling bills, depending on your local climate and usage patterns. These figures come from real-world data, not marketing fantasy. The key is that the Nest thermostat learning algorithm continuously tunes itself, unlike a static weekly schedule.
Your actual savings depend on several factors: your local utility rates, how aggressive you’re willing to set the temperature setbacks, your home’s insulation quality, and your current thermostat’s age. If you’re upgrading from a 20-year-old dial thermostat with no scheduling capability, expect significant savings. If you already use a modern programmable thermostat, the improvement might be more modest, perhaps 5–8%.
The Nest learning thermostat 4th generation review from CNET demonstrates real-world savings and compares the unit against competing smart thermostats. At a typical installation cost of $200–$350 (including the unit and labor), payback periods range from 1–3 years in most climates. In colder regions with high heating demand, payback can happen even faster. After that, you’re banking savings each month.
Smart Features And Remote Control
Beyond learning your schedule, the Google Nest thermostat 4th generation connects to your smartphone, letting you adjust temperature from anywhere, the office, vacation, or your car. The app also shows energy usage breakdowns, so you understand exactly when and how much you’re spending on heating and cooling.
Weather-aware scheduling is another standout feature. The system checks the forecast and proactively adjusts settings before a cold front arrives or a heat wave hits. You get notifications if the furnace or AC hasn’t run in a set time, alerting you to potential equipment problems before they become expensive failures.
For households with multiple zones or smart home ecosystems, the Nest thermostat integrates with Google Assistant, Google Home, and other smart devices. You can voice-control temperature changes without opening the app. The Nest learning thermostat 4th-gen review from Digital Trends highlights these integrations and how they streamline daily comfort adjustments.
One practical feature homeowners often overlook: the Nest thermostat learning system has built-in geofencing. If the system detects that everyone’s left home (via your phone locations), it automatically switches to eco mode. When someone returns, it returns to comfort mode. No need to remember to arm or disarm anything manually.
Is A Nest Thermostat Right For Your Home
A Nest learning thermostat makes sense if you have a compatible HVAC system (most forced-air furnaces and central air conditioning qualify), a Wi-Fi connection, and a willingness to embrace a slightly different approach to temperature control. The initial setup requires honesty, let the system learn for at least a week before you judge its effectiveness.
Skip the Nest if your heating system is a boiler with a hydronic loop, a mini-split heat pump without smart controls, or a baseboard heater system. Compatibility varies, so check the Nest website for your specific setup.
Cost-wise, weigh your local electricity rates against the typical payback timeline. In regions with high energy costs, the savings justify the expense quickly. In areas with low utility rates, the ROI stretches out, but you’re still gaining convenience and a nicer interface than a standard thermostat provides. The Nest learning thermostat 4th generation review from Tom’s Guide offers a detailed assessment of setup complexity and long-term value for different household situations.
If you rent, check with your landlord before installing, many require landlord permission for thermostat changes, and some provide their own smart thermostats as part of the lease.
Conclusion
The Nest learning thermostat 4th generation represents a meaningful step forward in home energy management. It learns without endless programming, saves real money in most climates, and integrates smoothly into modern smart homes. If you’re ready to automate temperature control and cut utility bills, it’s worth the investment, especially if you’re replacing an ancient thermostat. Take time with installation, be patient during the learning phase, and let the system prove itself over a heating or cooling season before adjusting expectations.