Replacing a water filter in your Whirlpool refrigerator sounds like a job for a professional, but it’s honestly one of the easiest maintenance tasks a homeowner can tackle. Clean water straight from your fridge depends on that filter doing its job, removing chlorine, sediment, and odors that affect taste. Most people don’t realize their filter is working overtime until the water flow slows or the ice tastes stale. The good news: swapping out a Whirlpool refrigerator water filter takes about five minutes, costs far less than a service call, and requires zero specialized skills. This guide walks you through finding your filter, choosing the right replacement, and installing it correctly.
Table of Contents
ToggleKey Takeaways
- Replacing your Whirlpool refrigerator filter is a simple five-minute task that any homeowner can complete without professional help or specialized tools.
- Regular filter replacement every six months is essential to maintain clean water quality, prevent bacterial growth, and keep your refrigerator running efficiently.
- Locate your filter’s position by checking your model number on the fridge interior, back panel, or manual, then use Whirlpool’s filter finder tool to identify the correct replacement cartridge.
- The step-by-step replacement process involves shutting off the water supply, removing the old filter, installing the new one, and resetting the filter indicator light—all in about five minutes.
- Always purchase the correct Whirlpool refrigerator filter part number for your specific model to ensure proper fit and performance, and avoid compatibility issues with generic alternatives.
- Monitor water pressure and write the installation date on your new filter to stay on track with maintenance schedules and catch performance drops before they become bigger problems.
Why Regularly Replacing Your Whirlpool Refrigerator Filter Matters
Your refrigerator’s water filter isn’t just an optional nicety, it’s essential maintenance. Over time, filters accumulate sediment, minerals, and chlorine, reducing their ability to clean water. Most manufacturers recommend replacing your Whirlpool refrigerator filter every six months, or sooner if you notice slower water dispensing or ice production.
Ignoring a saturated filter can lead to murky water, off-tasting ice, and even bacterial growth in the filter housing. Some households with harder water or higher sediment may need replacements every three to four months. The cost of a replacement filter is minimal compared to potential damage from contaminated water or a clogged line.
Regular replacement also keeps your refrigerator running efficiently. A clogged water filter for a Whirlpool refrigerator forces the water pump to work harder, which strains the appliance and increases energy consumption. Keeping up with this simple task protects your investment and ensures your family gets fresh, clean drinking water and ice every time.
Finding Your Refrigerator Filter Location
Before you can replace anything, you need to locate your filter. Whirlpool designs different models with different filter placements, so don’t assume yours is where your neighbor’s is. The location depends on your specific model and configuration, whether it’s a side-by-side, French door, or bottom-freezer unit.
Check your refrigerator’s manual or look inside the fridge itself for a label that identifies the model number. You can also find this information on the back or side of the appliance. Once you know your model, searching “water filter for my Whirlpool refrigerator” along with the model number will point you to the correct location and the right replacement part.
Common Filter Locations on Whirlpool Models
Inside the refrigerator: Many Whirlpool models house the filter in the upper-right or upper-left corner of the fridge compartment, behind a small access panel or door. This is common on French-door and top-freezer designs. You’ll typically see a button or knob to twist and release the cartridge.
Under the sink or in the base: Some Whirlpool side by side refrigerator water filter systems locate the filter in an external housing beneath the unit, usually on the right side near the floor. This requires access to the space below your fridge.
In the grille: A few models embed the filter behind the front grille. You’ll need to remove the grille panel (usually held by clips or screws) to access it.
If you’re unsure, take a photo of your model number and check the Whirlpool website or contact customer service, they can point you to the exact location for your machine. Spending two minutes confirming the spot now saves frustration later.
Step-By-Step Replacement Instructions
Once you’ve located your filter, the actual replacement is straightforward. Here’s the process most Whirlpool refrigerators follow:
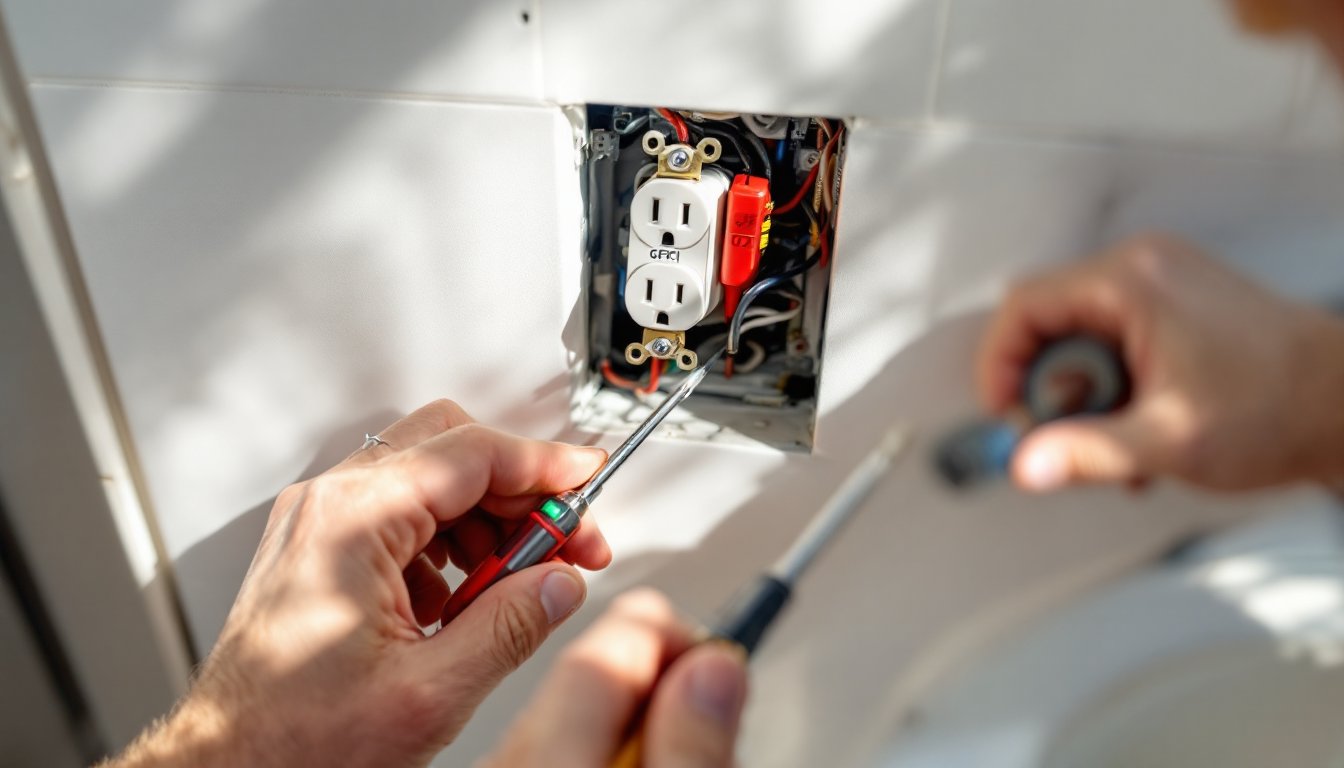
Step 1: Shut off the water supply. Find the water line valve behind or under your refrigerator and turn it off clockwise. This prevents water from spraying when you remove the old filter. If your fridge has a bypass plug (a cap that lets water flow without a filter), locate it, you’ll need it if your replacement is delayed.
Step 2: Open the filter access panel. Depending on your model, twist the old filter counterclockwise, push the button release, or slide the cartridge out. Have a towel or small bucket ready: residual water will drip.
Step 3: Remove the old filter. Pull it straight out or continue twisting, depending on the design. Don’t worry about a little spillage, it’s normal. Empty any water from the housing if needed.
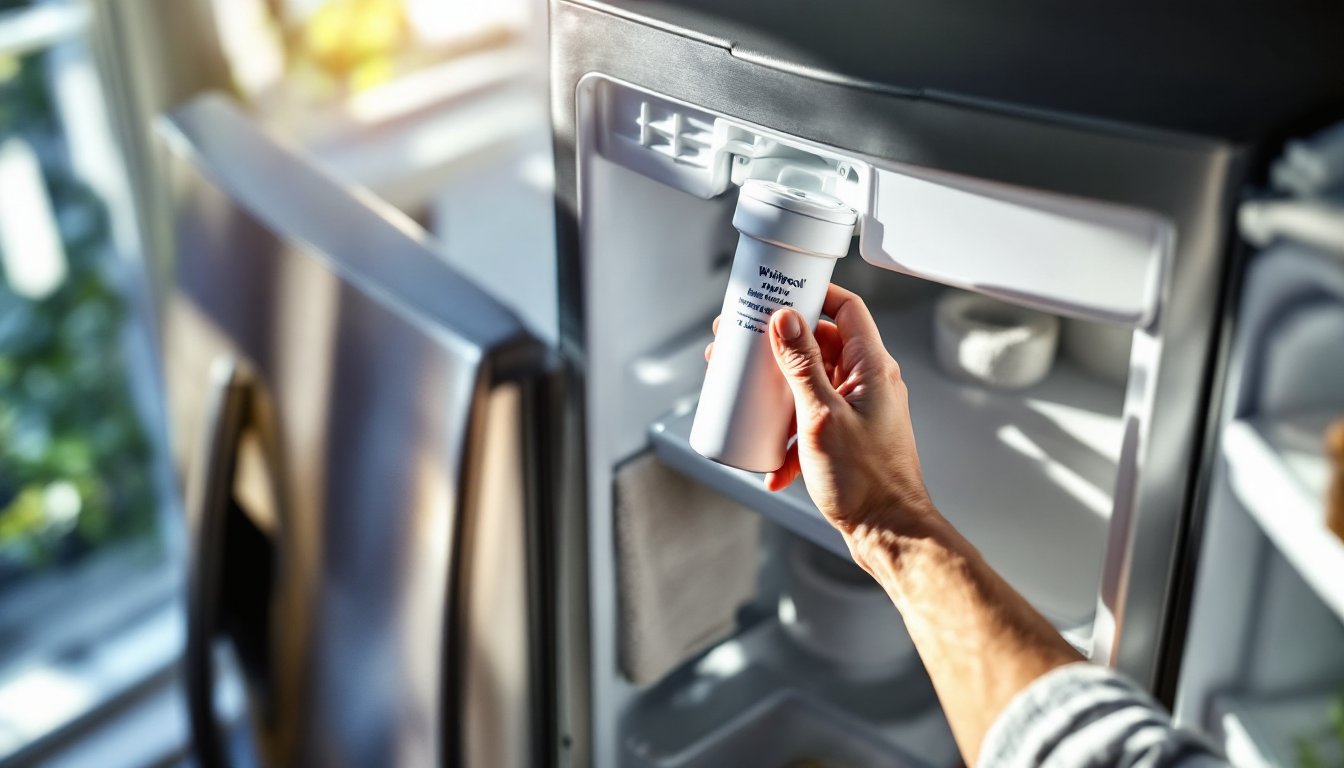
Step 4: Prepare the new filter. Unwrap your replacement Whirlpool refrigerator water filter replacement unit and check that it matches your model number. Some filters come with a protective cap you’ll need to remove.
Step 5: Insert the new filter. Slide it in or twist it clockwise until it’s snug. You’ll feel resistance when it seats properly, don’t force it, but make sure it’s fully inserted. Some models require a quarter-turn after insertion to lock it in place.
Step 6: Turn the water supply back on. Open the valve slowly and listen for water flowing to the ice maker and dispenser. Run water for 30 seconds to flush air from the line, then dispense ice and refill your glass.
Step 7: Reset the filter indicator. Many Whirlpool fridges have a light or counter that tracks filter status. Press and hold the reset button (usually marked with a filter icon) for three to five seconds until the light changes or the counter resets. Consult your manual for the exact reset sequence.
Identifying the Correct Replacement Filter for Your Model
Buying the wrong filter is a frustrating waste of money and time. Whirlpool makes multiple filter types, and the part numbers matter. Your refrigerator likely uses either a Whirlpool Gold refrigerator filter (typically Model 1 or Filter 1), a Whirlpool refrigerator water filter 1, or another designated cartridge depending on your appliance year and series.
The easiest way to get the right part is to locate your model number on the fridge itself, it’s usually on a sticker inside the refrigerator, on the back panel, or in the manual. Search for your exact model plus “water filter” to confirm the compatible replacement. Whirlpool’s official website has a filter finder tool that cross-references your model number to the correct cartridge.
You’ll find replacement filters at appliance retailers, big-box home improvement stores, and online marketplaces. Genuine Whirlpool filters cost more than generic third-party options, but they’re engineered to fit snugly and filter to manufacturer specifications. If budget is tight, third-party filters often work, but read reviews to ensure compatibility and performance. Don’t guess on the part number, an incorrect filter won’t fit, and forcing it risks damaging the housing.
Maintenance Tips to Extend Your Filter’s Lifespan
While you can’t make a filter last indefinitely, smart habits keep it working efficiently longer. First, monitor water pressure and flow. If water dispensing slows noticeably or ice production drops, your filter is saturated and needs replacement, don’t wait for the reminder light.
Second, keep your refrigerator’s exterior water line clean. Over years, mineral buildup inside the line can reduce flow and stress the filter. If you notice slow water output even after installing a fresh filter, your line may need flushing or replacement. This is where calling in a professional makes sense: opening refrigerant lines requires expertise.
Third, store replacement filters in a cool, dry spot. Moisture and heat can degrade the filter media before installation. Most filters come in sealed packaging that preserves them for years, but don’t stockpile opened filters in humid cabinets.
Fourth, write the installation date on your new filter with a permanent marker. This simple habit means you’ll never forget when you installed it. After six months, you’ll see the date and know it’s time to shop for the next one. Homeowners using seasonal repair guides and maintenance checklists often find that scheduling filter replacement with other spring or fall maintenance prevents missed deadlines. Finally, if your water tastes off or looks discolored even with a new filter, check for other issues, a kink in the supply line, air in the line, or a malfunctioning solenoid valve. When in doubt, consult your manual or contact Whirlpool support before replacing expensive parts.
Conclusion
Replacing your Whirlpool refrigerator filter is a practical, budget-friendly maintenance task that every homeowner should feel confident handling. Knowing where the filter lives, how to swap it out, and which replacement to buy eliminates guesswork and keeps your fridge performing at its best. Set a six-month reminder, grab the correct part, and spend five minutes on this simple job. Your water will taste fresher, your ice will look clearer, and you’ll avoid costlier problems down the road. When you’re ready to learn more about kitchen appliances and design, resources like kitchen organization and appliance reviews offer inspiration alongside practical advice.