
A bathroom sink vanity is far more than a place to wash your hands, it’s often the centerpiece of the entire room and a significant factor in how the space functions day-to-day. Whether you’re planning a full bathroom remodel or swapping out a dated vanity for something fresh, understanding your options makes the difference between a project that frustrates you and one that delivers real satisfaction. This guide walks you through vanity types, installation considerations, and the practical details that separate a quick fix from a thoughtful upgrade that’ll serve your household for years to come.
Table of Contents
ToggleKey Takeaways
- Choose between single-sink vanities (24–36 inches) for smaller bathrooms or double-sink vanities (48–72 inches) for busy households sharing a bathroom.
- Accurate measurements of wall width, plumbing rough-in locations, and vanity height (standard 30–32 inches or comfort-height 34–36 inches) are essential before purchasing a bathroom sink vanity to avoid costly returns and installation delays.
- Select durable materials based on your bathroom’s humidity levels: solid wood and quartz offer longevity, while MDF requires excellent ventilation and proper sealing to prevent moisture damage.
- Prioritize storage functionality by evaluating drawer depth, cabinet openings, and built-in organizers—a vanity must balance aesthetics with practical storage for everyday household items.
- Professional installation or plumbing assistance prevents water damage and cabinet racking, especially when securing the vanity to wall studs and connecting supply lines with proper caulking and flexible connections.
- Modern, traditional, and transitional design styles each pair differently with countertop materials and sink types, so visiting showrooms to see pairings in person ensures visual cohesion with your bathroom’s actual lighting.
Understanding Bathroom Sink Vanity Types and Styles
Single and Double Sink Options
The first decision is whether you need one or two sinks. A single-sink vanity typically runs 24 to 36 inches wide and works well in smaller bathrooms, guest bathrooms, or half-baths. It’s easier to fit into tight spaces and generally costs less upfront. A double-sink vanity, sometimes called a bathroom vanity set, runs 48 to 72 inches wide and offers obvious advantages for busy households sharing a bathroom. Two people can get ready simultaneously without the shuffle-and-wait routine.
Beyond width, consider basin depth and apron (the finished edge of the sink counter). A standard basin is 5 to 8 inches deep: anything shallower feels cramped, and anything deeper can be awkward for shorter users. Undermount sinks (where the sink bowl sits below the countertop surface) look sleeker and simplify counter cleanup, while vessel sinks sit on top of the counter and can be a style statement or a dust trap, depending on your habits.
Modern, Traditional, and Transitional Designs
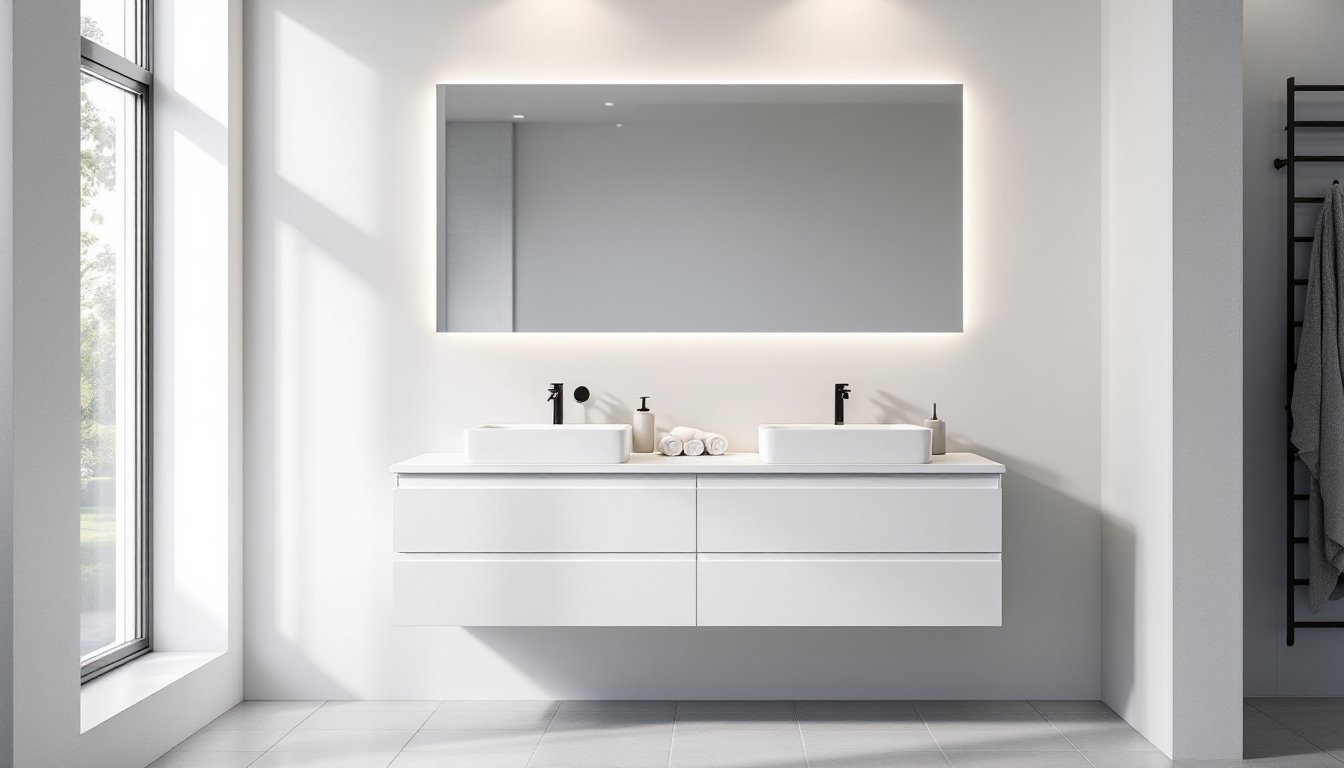
Modern vanities emphasize clean lines, minimal ornamentation, and often feature glossy finishes, integrated handles, and geometric shapes. They pair well with frameless mirrors, minimalist hardware, and neutral tones. Traditional bathroom sink and vanity designs lean toward raised-panel cabinetry, turned legs or decorative base framing, ornate hardware, and finishes like dark wood or creamy white. Transitional designs blend both worlds, the functionality and simplicity of modern style with warmer wood tones or subtle detailing from traditional aesthetics.
Your choice here isn’t just cosmetic: it affects what you’ll find in your local market. Bathroom vanity stores near me typically stock a mix of all three styles, though availability varies by region and season. If you have a specific look in mind, checking what’s available at nearby retailers before committing to a remodel timeline prevents frustration.
Measuring and Planning Your Vanity Installation
Before shopping, whether you’re browsing online or visiting a bathroom vanity store near your location, measure your existing space accurately. Note the width of the wall where the vanity will sit, the distance from the wall to any obstructions (doors, windows, adjacent fixtures), and the height of the existing vanity (if replacing). Also measure the rough-in location of plumbing drain and water supply lines. This sounds tedious, but mismatched measurements are a common reason for returns and delays.
Check your rough-in height and spacing. The standard rough-in for a sink drain is 16 to 20 inches from the finished floor, and supply lines typically sit 4 to 6 inches above that. Most vanities are designed to accommodate these standard measurements, but older homes sometimes have non-standard rough-ins that’ll require an adapter or relocating the plumbing, work you might want a licensed plumber to handle.
Countertop height matters too. A standard vanity sits 30 to 32 inches tall: comfort-height or ADA-accessible models run 34 to 36 inches. If you or a household member has mobility considerations, this isn’t a small detail. Taller vanities also reduce back strain during daily routines. Consider the visual proportion as well, a shallow vanity in a large bathroom can look insubstantial, while an oversized unit in a compact space overwhelms the room.
Selecting Materials for Durability and Aesthetics
Vanity cabinets come in solid wood, plywood with veneer, medium-density fiberboard (MDF), or thermofoil. Solid wood (oak, maple, cherry) resists moisture well when properly sealed but costs more and requires maintenance. Plywood and MDF are more budget-friendly, but their moisture resistance depends entirely on the finish and sealing. In a high-humidity bathroom, poor ventilation can cause MDF to swell over time, so this isn’t an area to cheap out if your bathroom lacks an exhaust fan.
Countertop materials are equally important. Laminate is durable, affordable, and comes in endless patterns, though it’s vulnerable to heat and sharp impacts. Solid surface materials like Corian offer seamless integration with the sink and hidden seams, resist stains, and are repairable. Natural stone (granite, marble, quartz) looks luxurious and is highly durable, but marble and softer stones need sealing and can etch under acidic substances. Quartz is non-porous, doesn’t require sealing, and is nearly maintenance-free, that’s why it’s popular even though the higher upfront cost.
For vanity sink and cabinet combinations, ensure the materials are compatible. A vessel sink paired with a glossy modern cabinet looks cohesive, while a traditional vanity cabinet benefits from an integrated or undermount sink that maintains the cabinetry’s visual weight. Visit a bathroom vanity sale or showroom to see these pairings in person: photos online don’t always capture how materials interact under your home’s actual lighting.
Storage Solutions and Organization Features
A vanity that looks beautiful but doesn’t store anything is a vanity that fails its primary job. When evaluating options, count drawer and cabinet openings, note shelf depth, and assess whether there’s room for everyday items like toothbrushes, medications, and cleaning supplies. Shallow drawers keep frequently used items accessible: deeper drawers suit less-used bulk items.
Drawer organizers, pull-out trays, and interior shelving increase usable space significantly. Some vanity units come with these features integrated: others require retrofitting. If you’re buying a bathroom vanity cabinet, ask whether removable shelves adjust, as flexibility matters when your storage needs change. A vanity with a single large cabinet is harder to organize than one with a mix of drawers and smaller cabinets.
Counter space above the vanity also matters. Too small, and you’re balancing bottles precariously: too large, and clutter spreads. A 18- to 24-inch counter depth (front to back) offers room for daily items without looking cluttered. Consider your household’s bathroom habits. A family of four needs more storage and counter real estate than a single person: a where to buy bathroom vanity conversation should account for your specific household load.
Installation Tips and Best Practices
Proper installation starts with prep work. If you’re replacing an existing vanity, turn off the water supply at the shutoff valve (or main if there’s no shutoff), disconnect the supply lines using an adjustable wrench, and loosen the p-trap underneath the sink. Depending on how the old vanity is fastened to the wall, you may need to remove caulk, unscrew brackets, or cut shims. Don’t rush this step, a stuck vanity damages surrounding drywall and makes the job take twice as long.
Before setting the new vanity in place, check that the wall is level using a 2-foot level: many older walls slope slightly. Shim the vanity base until it sits level and plumb (vertical), fastening it to wall studs with 2.5-inch wood screws through the back of the cabinet. Studs are typically 16 inches on center. If your vanity doesn’t align with stud locations, install horizontal blocking (sister framing) between studs beforehand, this is a professional-grade detail that prevents cabinet racking over time.
Connect plumbing last, after the vanity is secure. Use flexible supply lines rather than rigid copper if possible, they’re forgiving during installation and adapt to slight misalignments. Apply plumber’s putty or silicone caulk around the sink rim where it meets the countertop to prevent water intrusion. Don’t overtighten any connections: hand-tight plus a half-turn with a wrench is standard practice. If you’re uncomfortable with plumbing, this is when hiring a licensed plumber makes sense, water damage from a leaking connection costs far more than professional installation.
Seal the caulk joint and finish the caulk line around the countertop after the sink is installed and water is flowing without leaks. Use paintable silicone for flexibility (bathrooms move and settle), and smooth it with a wet finger or caulk tool before it sets. Allow 24 hours of cure time before exposing the sink to heavy use.
For a bathroom vanity sale item you’re installing, check the manufacturer’s installation guide, specifications vary. Some vanity units ship pre-assembled: others require drawer and door installation. A few hours of careful assembly and installation beats a year of regret over a wobbly cabinet or persistent leak.
Wrapping Up Your Vanity Selection
Choosing the right bathroom sink vanity means balancing style preferences with practical realities: your bathroom’s dimensions, your household’s actual storage needs, your budget, and your comfort level with installation work. Visit showrooms, handle materials, measure twice, and don’t let Instagram inspiration override function. A vanity that solves your daily frustrations and fits your home’s look is one you’ll appreciate every time you use it. If you’re unsure about any installation step, bring in a professional, that peace of mind costs less than repairing damage from a DIY mistake.