Wiring a light switch might seem intimidating if you’ve never done it before, but it’s one of the most straightforward electrical projects a homeowner can tackle. Whether you’re replacing an old, worn-out switch or installing a new one in a renovation, understanding the basics of light switch wiring takes the mystery out of the job. This guide walks you through the components, tools, and step-by-step process to get it right the first time, safely and code-compliant. With the right preparation and attention to detail, wiring a switch to a light or upgrading your switches is absolutely doable for the average DIYer.
Table of Contents
ToggleKey Takeaways
- Light switch wiring is a straightforward DIY project for homeowners when you understand the basic components and follow proper safety protocols by turning off power and testing with a voltage tester before touching any wires.
- Single-pole switches are the most common type and require only two terminal connections: the hot wire to the common screw and the switched leg to the other terminal, while neutral and ground wires bypass the switch entirely.
- Always strip approximately ½ inch of insulation from wire ends, connect wires firmly to terminal screws without over-tightening, and ensure the ground wire is included in the electrical box for critical safety protection.
- Common light switch wiring mistakes like connecting neutral to the switch, forgetting the ground wire, or stripping too much insulation can create shock hazards and damage appliances, so double-check all connections before restoring power.
- If you encounter older wiring with unfamiliar colors, cloth-wrapped insulation, or a crowded electrical box, consult a licensed electrician rather than guessing, as complications can be dangerous and code violations costly.
Understanding Basic Light Switch Components
Before you turn off the breaker and grab your tools, it helps to know what you’re working with. A light switch isn’t just a simple on-off toggle, it’s a carefully designed component that controls the flow of electricity to your lights.
Common Switch Types and Their Functions
Single-pole light switches are the most common type in residential homes. They control a light or lights from one location and have two terminal screws: a common screw (usually darker, often brass-colored) and a traveler screw. When you flip the switch up or down, you’re physically breaking or completing the circuit that allows electricity to flow to the light fixture.
Three-way switches work in pairs and let you control the same light from two different locations, think of a hallway light you can turn on at either end. They have three terminal screws instead of two. Understanding the difference between single-pole light switch wiring and three-way wiring is crucial: mixing them up is a common mistake that leaves you with non-functional switches or hazardous wiring.
Four-way switches are less common and work with two three-way switches to control lights from three or more locations. The back of light switch wiring for four-way switches is more complex, so it’s typically best left to professionals unless you have electrical experience.
The wire connections at the back of a standard single-pole switch follow a simple pattern: the hot wire (usually black) brings power in, the neutral wire (white) completes the circuit back to the panel, and the ground wire (bare copper or green) provides a safety path if there’s a fault. Basic light switch wiring relies on these three components working together correctly.
Tools and Materials You’ll Need
Gather these items before you start. You don’t need a full workshop, most homeowners already own half of these.
Tools:
- Voltage tester (non-contact type is safest and easiest)
- Flathead and Phillips screwdrivers
- Wire stripper
- Needle-nose pliers
- Flashlight or headlamp (dark electrical boxes are the norm)
Materials:
- New switch (appropriate for your wiring setup, single-pole, three-way, or dimmer)
- Electrical wire (if replacing wire: typically 14 AWG for 15-amp circuits or 12 AWG for 20-amp)
- Wire nuts (if not pre-installed on the switch)
- Electrical tape
Safety gear:
- Safety glasses
- Work gloves
- Flashlight (the darkness in electrical boxes surprises people)
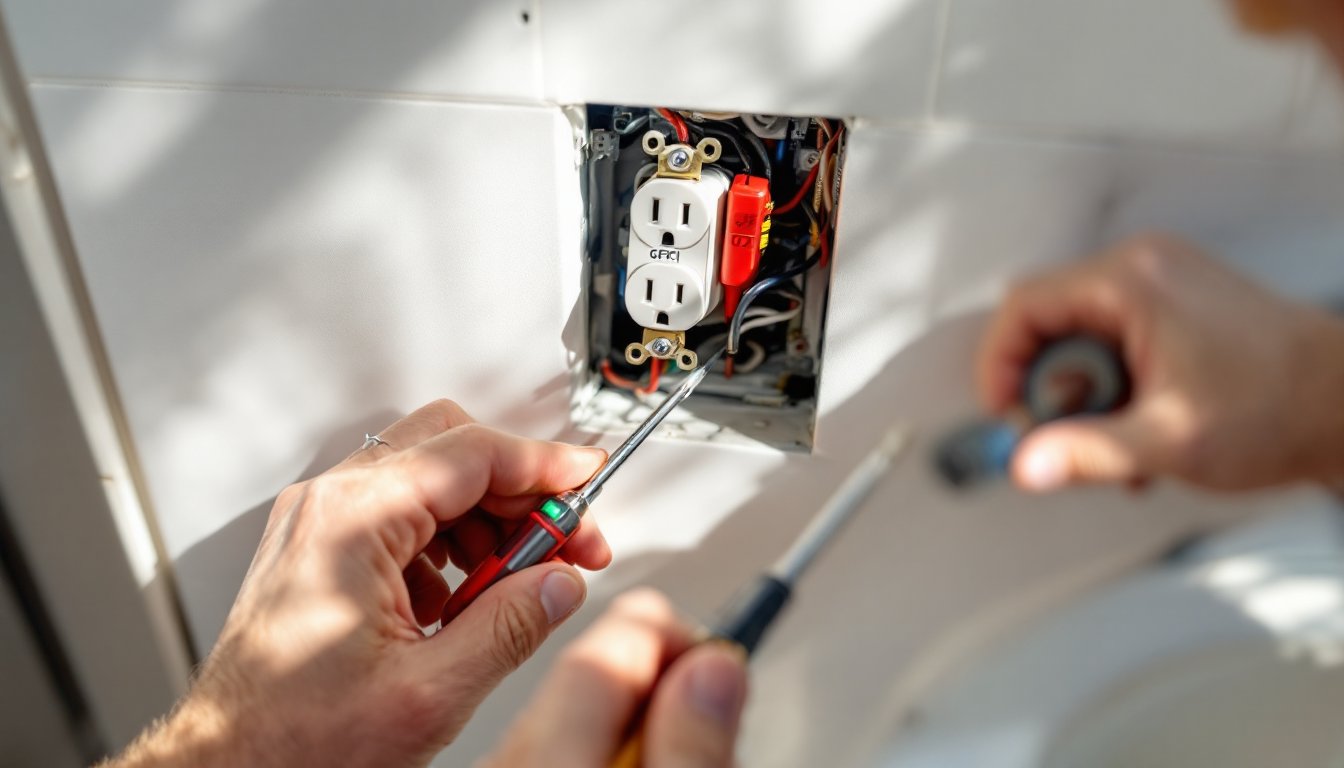
For wiring up a light switch correctly, a good voltage tester is your best friend. It confirms the power is off before you touch any wires, and it’s a one-time investment that pays for itself on the first project. Don’t skip the tester, electricity doesn’t announce itself, and guessing is never acceptable.
Step-by-Step Installation Process
Safety Precautions Before You Begin
Before touching anything in the electrical box, turn off power at the breaker panel and verify it’s off using your voltage tester. Flip the switch a few times, if the light doesn’t respond, you’re likely good. Then test the switch itself with your voltage tester to be absolutely certain. This is non-negotiable: electrocution is real, and dead circuits are easy to confirm.
Wear safety glasses in case anything falls, and have your flashlight ready. Electrical boxes are cramped and poorly lit, so you need to see what you’re doing.
Installation Steps for Single-Pole Light Switch Wiring:
-
Turn off power and verify it’s off. Use your voltage tester on the wires and the light fixture itself. Don’t rely on memory or the switch position.
-
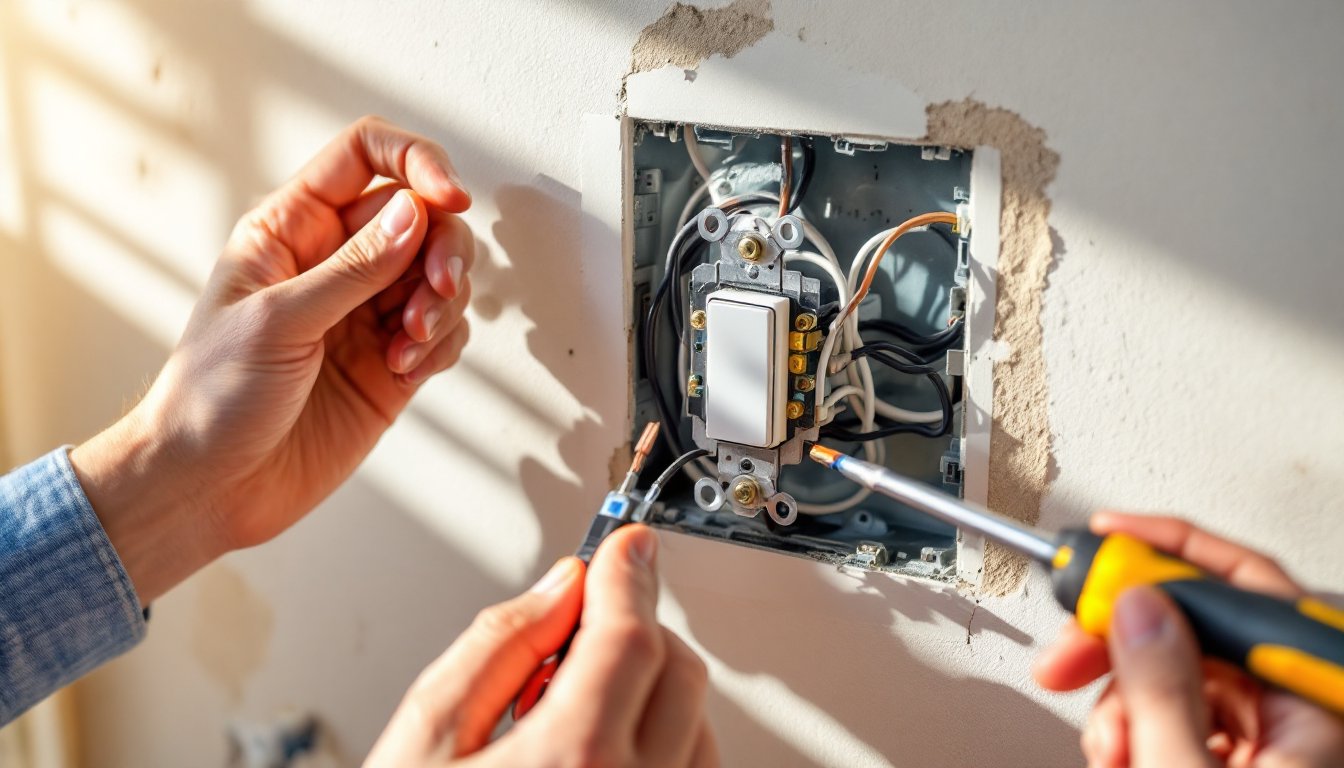
Remove the old switch. Unscrew the wires from the terminal screws on the back of the old switch. Usually, there are two wire connections: the hot (black) and the switched leg (another black or red wire leading to the light). The neutral (white) and ground are typically bypassed at the switch and connected directly in the box with wire nuts.
-
Identify and prepare the wires. The hot wire brings power from the breaker panel. Strip about ½ inch of insulation from the end of each wire using your wire stripper. Be careful not to nick the wire itself, nicks create weak points.
-
Connect the wires to the new switch. Take the incoming hot wire and loop it around the common screw (usually marked COM or a darker color) on the new switch. Tighten firmly. Take the wire going to the light (the switched leg) and connect it to the other terminal. Tighten both screws until they’re snug, over-tightening can strip the screw and damage the connection.
-
Check for ground and neutral bypasses. The neutral (white) and ground (bare copper or green) should be connected together in the electrical box with a wire nut, not to the switch itself. This is standard practice for single-pole switches and a critical part of basic light switch wiring.
-
Fold wires back into the box carefully. Don’t force them. If the box is cramped, you may need to trim extra wire length or gently coil it. Avoid sharp creases.
-
Screw the switch to the box. Align the switch so the toggle is centered in the faceplate opening, then tighten the mounting screws. Don’t over-tighten, you can crack the switch body.
-
Install the faceplate. Screw it on and step back.
-
Restore power and test. Go back to the breaker, flip it on, and flip your switch a few times. The light should respond every time. If not, turn off power again and check your wire connections.
If you’re dealing with wiring a light switch in an older home with cloth-wrapped or worn insulation, or if you’re unsure about wire color coding, this is the moment to call a licensed electrician. Guessing on old wiring can be dangerous.
Common Wiring Mistakes to Avoid
Even careful DIYers stumble on light switch wiring. Here are the mistakes that show up most often.
Connecting neutral to the switch: Neutral (white) wires should never be connected to switch terminals. They bypass the switch entirely and are joined together in the box with a wire nut. Connecting neutral to the switch creates a shock hazard and can damage appliances on the circuit.
Forgetting the ground wire: The ground (bare copper or green) provides a safety path in case of a fault. It should also be included in the box, either looped to a ground screw on the switch, or joined with other grounds using a wire nut. Skip it, and you’ve removed a critical safety layer.
Mixing up hot and switched leg on a three-way switch: Single light switch wiring is forgiving, but three-way switches have a specific traveler configuration. Connect the wrong wires, and your lights won’t work from both locations. When in doubt, label wires before you disconnect them or consult a wiring diagram specific to your setup.
Stripping too much insulation: If you strip more than ½ inch, exposed wire can touch the box or adjacent wires, creating a short or arc. Use your wire stripper carefully and strip just enough to wrap around the screw.
Forcing wires into a full box: Electrical codes specify how many wires fit in a given box size. If your box is already packed, don’t cram more in. You may need a larger box, or you might need to reroute wires, again, a licensed electrician is your resource here.
Not testing for power before you touch anything: This bears repeating because it’s the most critical step. A non-contact voltage tester costs $10–20 and has saved countless fingers and lives. Use it. Testing the wire, the box, and the light fixture itself takes 30 seconds and guarantees you’re safe.
Wiring up a light switch correctly the first time saves you troubleshooting later. Most mistakes are careless, not complicated. Slow down, double-check your connections, and you’ll get it right.
Conclusion
Wiring a light switch is an approachable project that builds confidence for bigger electrical work. By understanding the components, using the right tools, and following the step-by-step process, you can install or replace single-pole switches safely and correctly. Always prioritize safety, kill the power, verify it’s off, and test twice. If you run into complications like old wiring, unfamiliar wire colors, or a box that’s too crowded, bring in a licensed electrician from This Old House’s trusted contractor network or a local professional. Confidence and caution go hand in hand. You’ve got this.